date
Apr 8, 2023 12:20 AM
type
status
slug
summary
tags
category
updated
Feb 18, 2025 12:22 PM
icon
password
摘要
一直以来家里的旧电脑闲置着,偶尔也会搞一下Linux系统。但是由于知识匮乏每次重新安装Linux系统很麻烦,就思考为啥不能像服务器运营商一样,每次重新安装系统就重置一下就好了。找了很久发现了Proxmox这个基于debian制作的虚拟机系统。如何安装查看我以往的文章,或许可以给你提供一些帮助。
长久以来玩这个系统,看见很多人弄All in one和单臂路由。但是由于人在外面工作,服务器在老家,所以先折腾如何安装openwrt系统,至于网络的问题等回家再做研究。
安装
我的环境
PVE版本:7.1-10
下载镜像
我这里用的是官方的原生x86镜像:
https://downloads.openwrt.org/releases/21.02.3/targets/x86/64/openwrt-21.02.3-x86-64-generic-ext4-combined-efi.img.gz。
你也可以自己去opwrt官网下载。例如:
https://downloads.openwrt.org/releases/22.03.0/targets/x86/64/
选择你自己对应的服务器架构的镜像。
或者你也可以下载别人封装好的.vmdk镜像
下载地址
解压
你可能需要安装gzip来解压gz压缩包
之后这个先放在一边,等下需要用到,别切换目录,如果切换了后面的要记住位置在哪里。
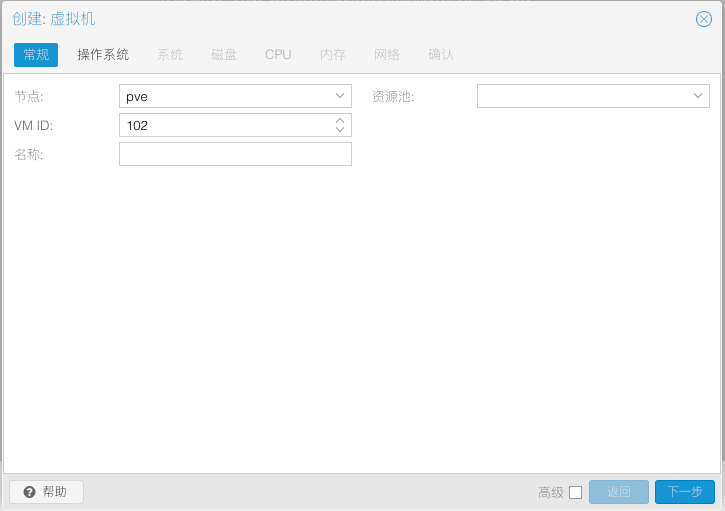
创建虚拟机
- 填写虚拟机名称
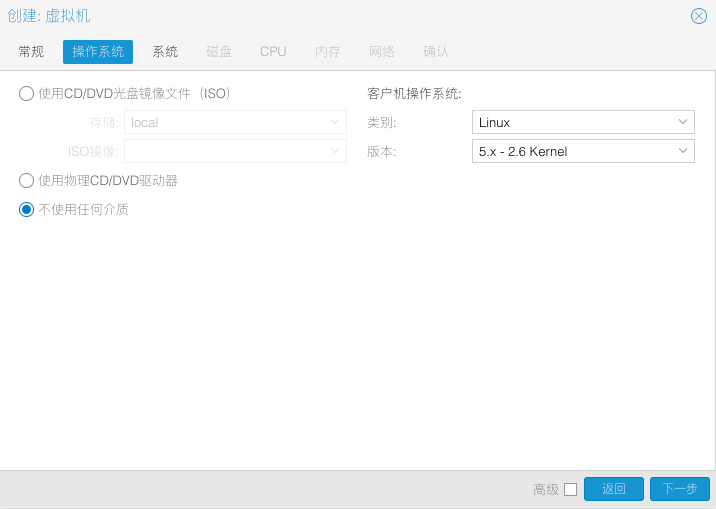
- 选择不适用任何介质
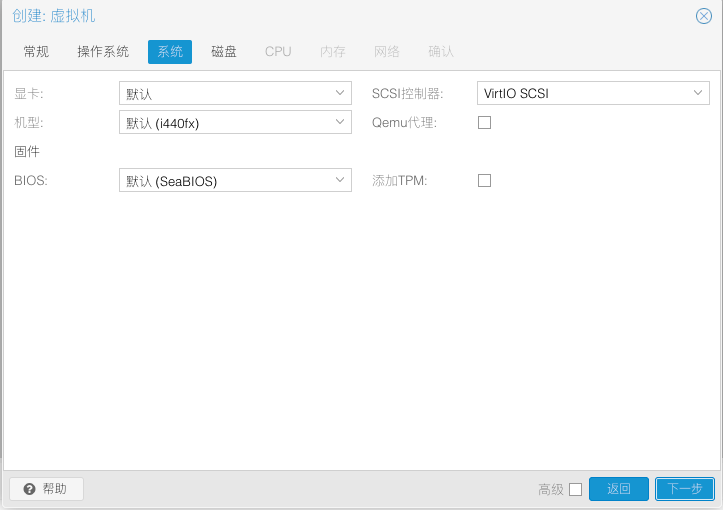
- 默认需要选择一个硬盘,随便设置就好,后面用不到这个硬盘
- 设置2核一般就够用了
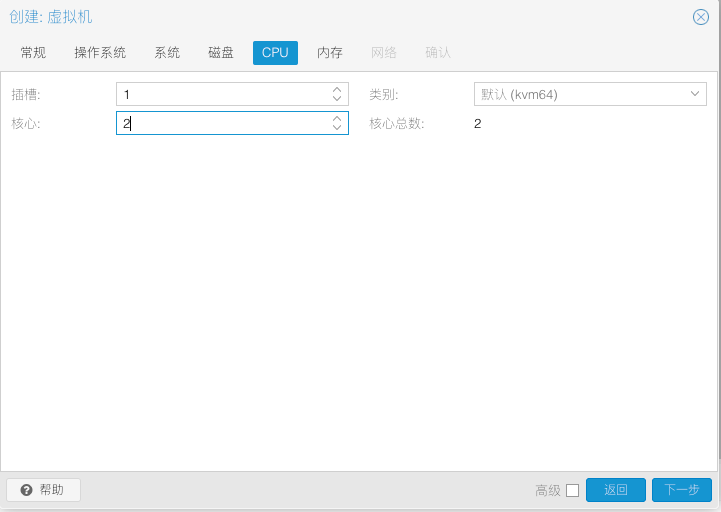
- 设置1024M(1G)内存
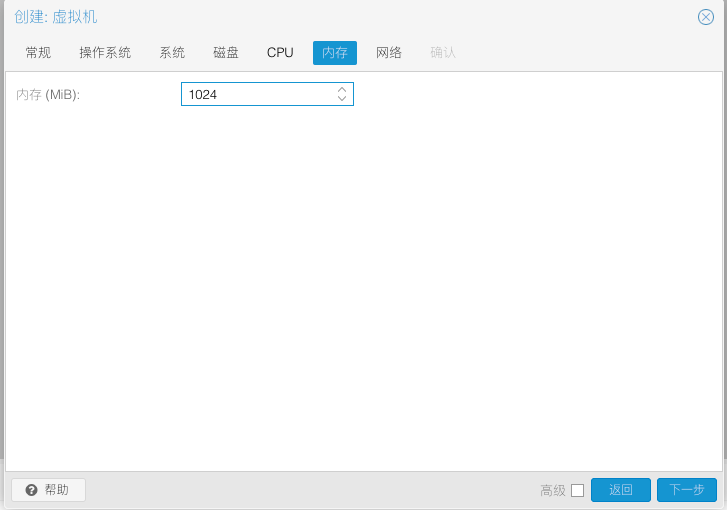
- 选择默认的vmbr0网桥
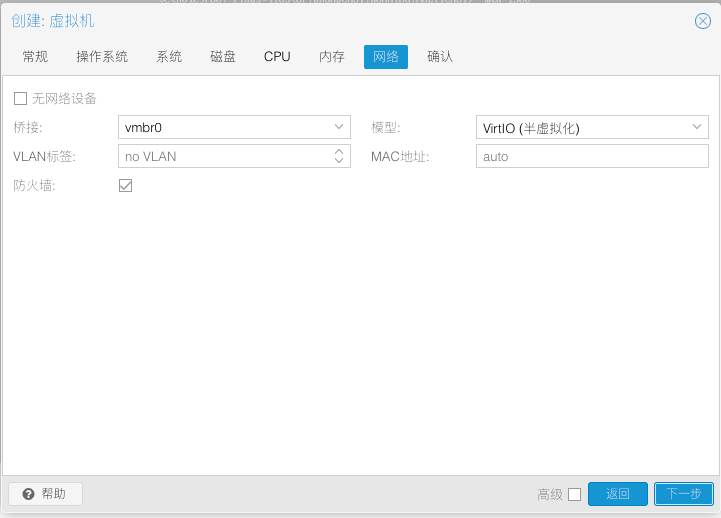
- 最后确认无误后,创建虚拟机
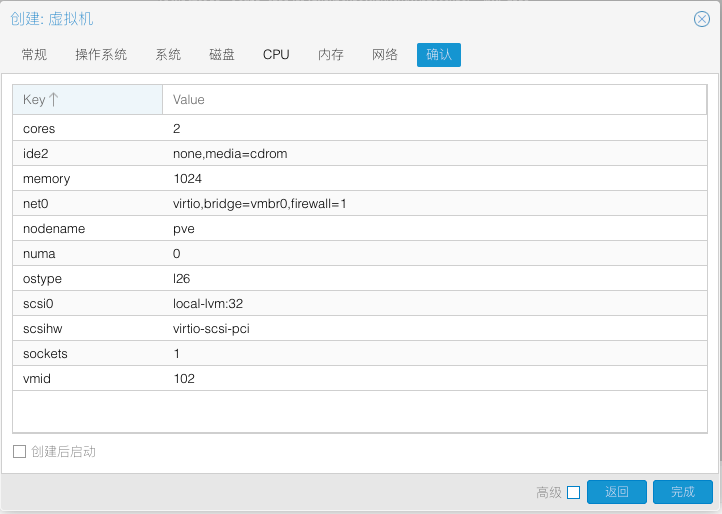
导入刚刚下载的固件镜像
- 登录pve后台,执行qm importdisk命令导入刚刚下载的固件镜像
101是刚刚创建的虚拟机的ID
openwrt-21.02.3-x86-64-generic-ext4-combined-efi.img是镜像位置
local-lvm是对应的存储名称,可以通过pvesm status查看可用的存储,或者直接在web上查看
如果你使用了一些大佬的封装好的.vmdk虚拟镜像
那么你的命令就是这样
vmdk是VMware的磁盘格式
执行该命令后,会得到如下输出,看到Successfully imported disk就说明导入成功了
- 打开网页,添加之前导入的磁盘
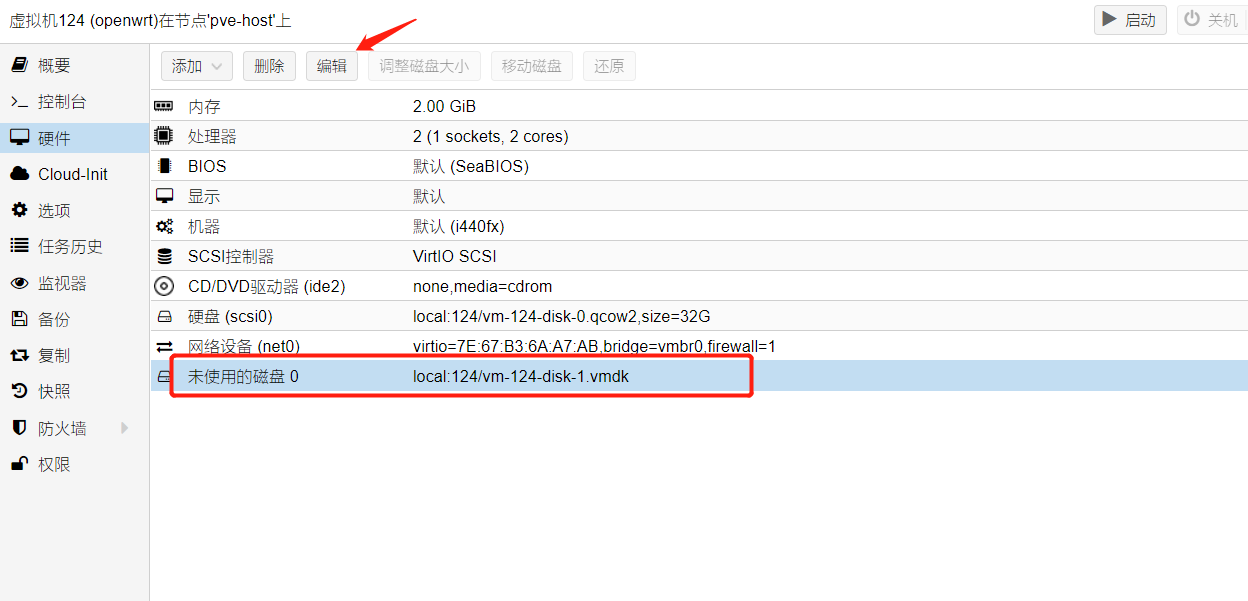

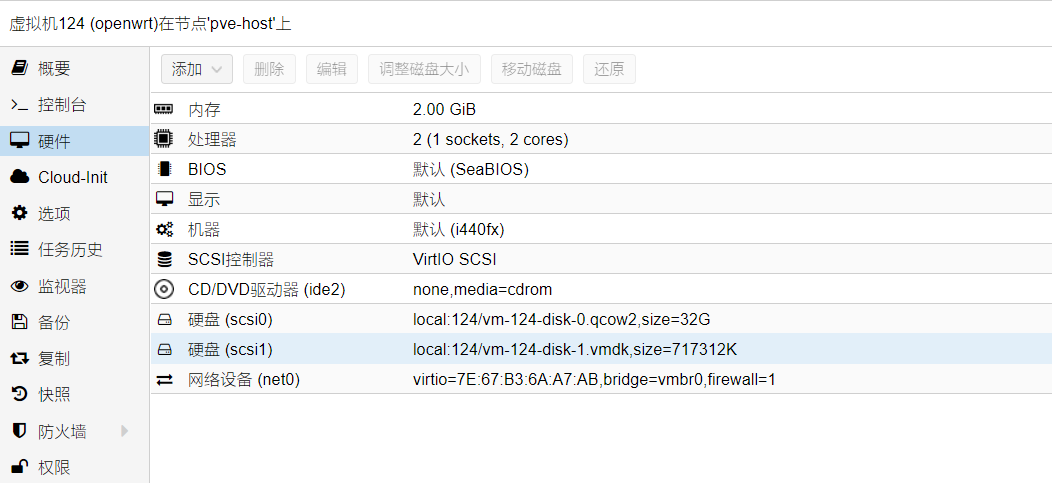
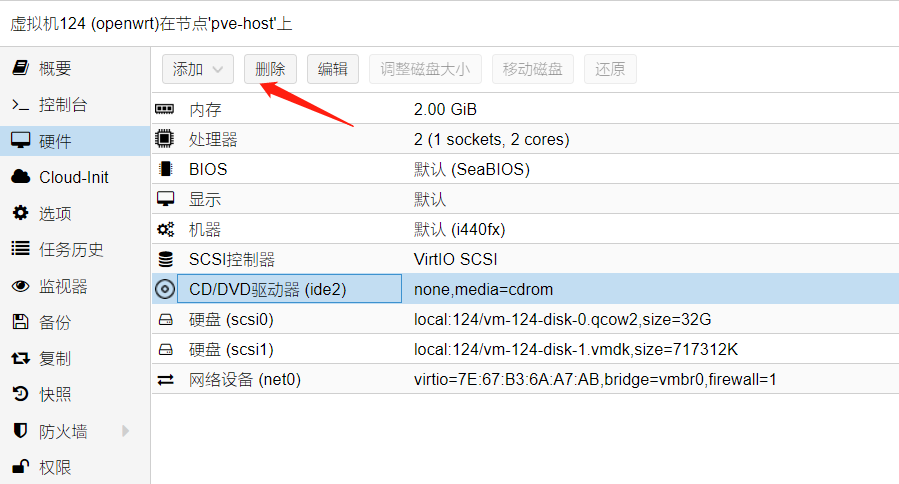
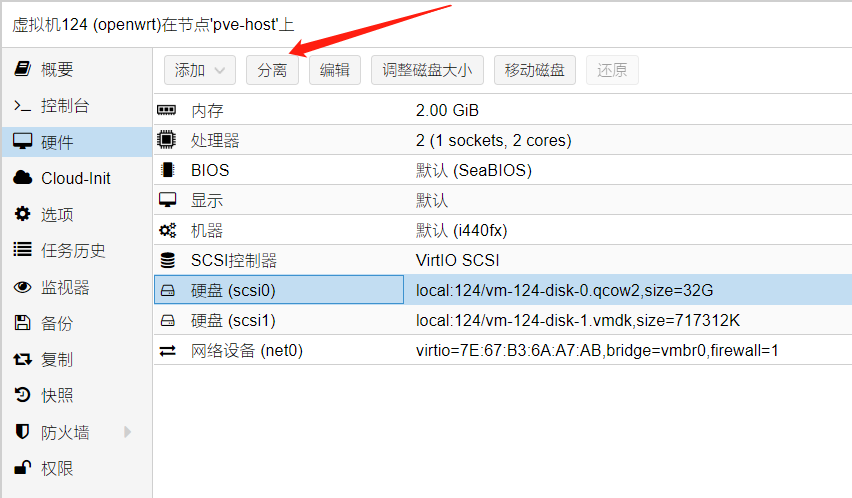
- 删除CD/DVD驱动器(ide2)和硬盘(scsi0)
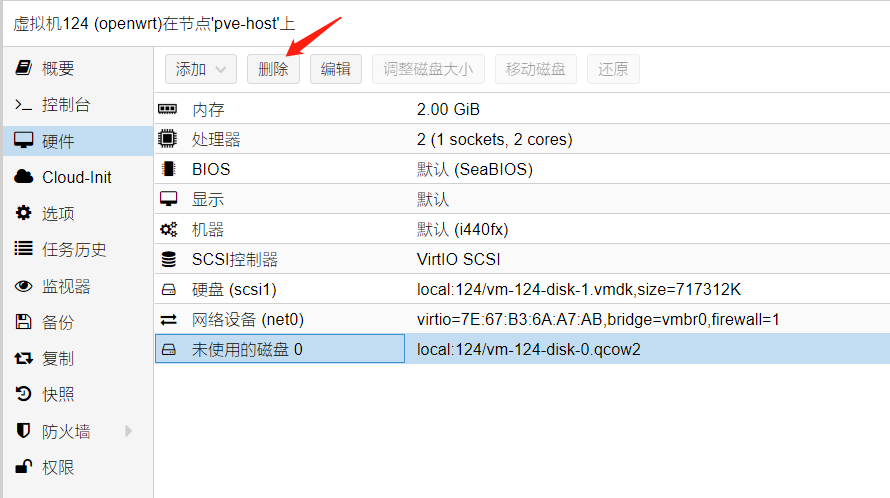
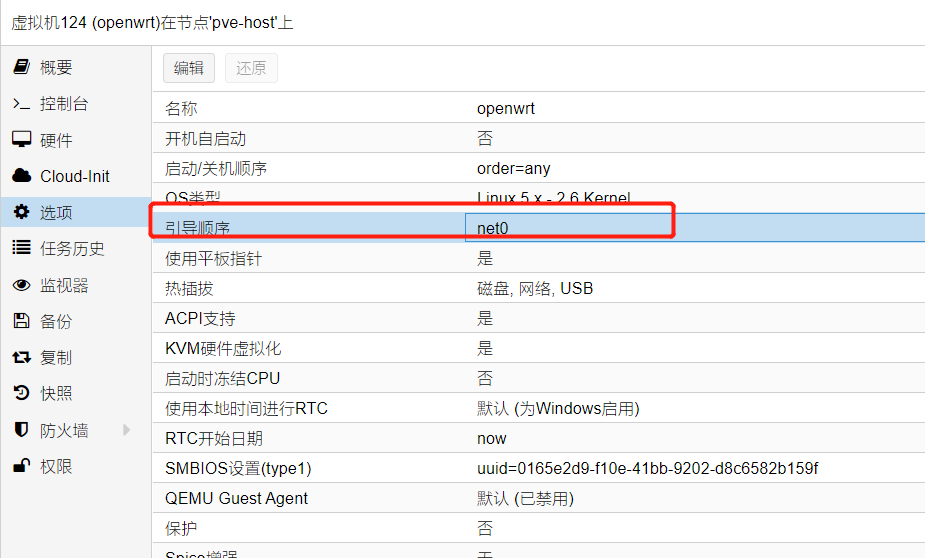
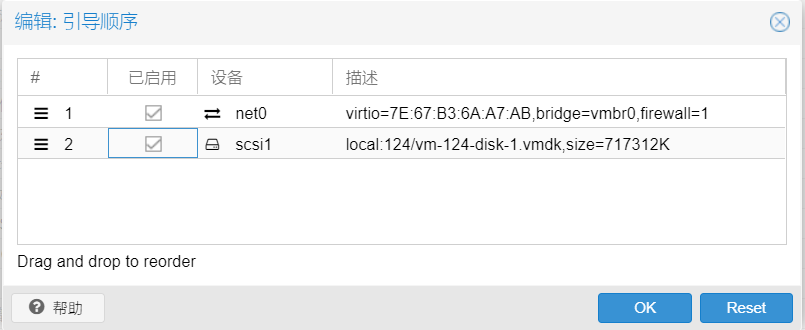
设置启动项
手动设置硬盘引导启动
启动虚拟机
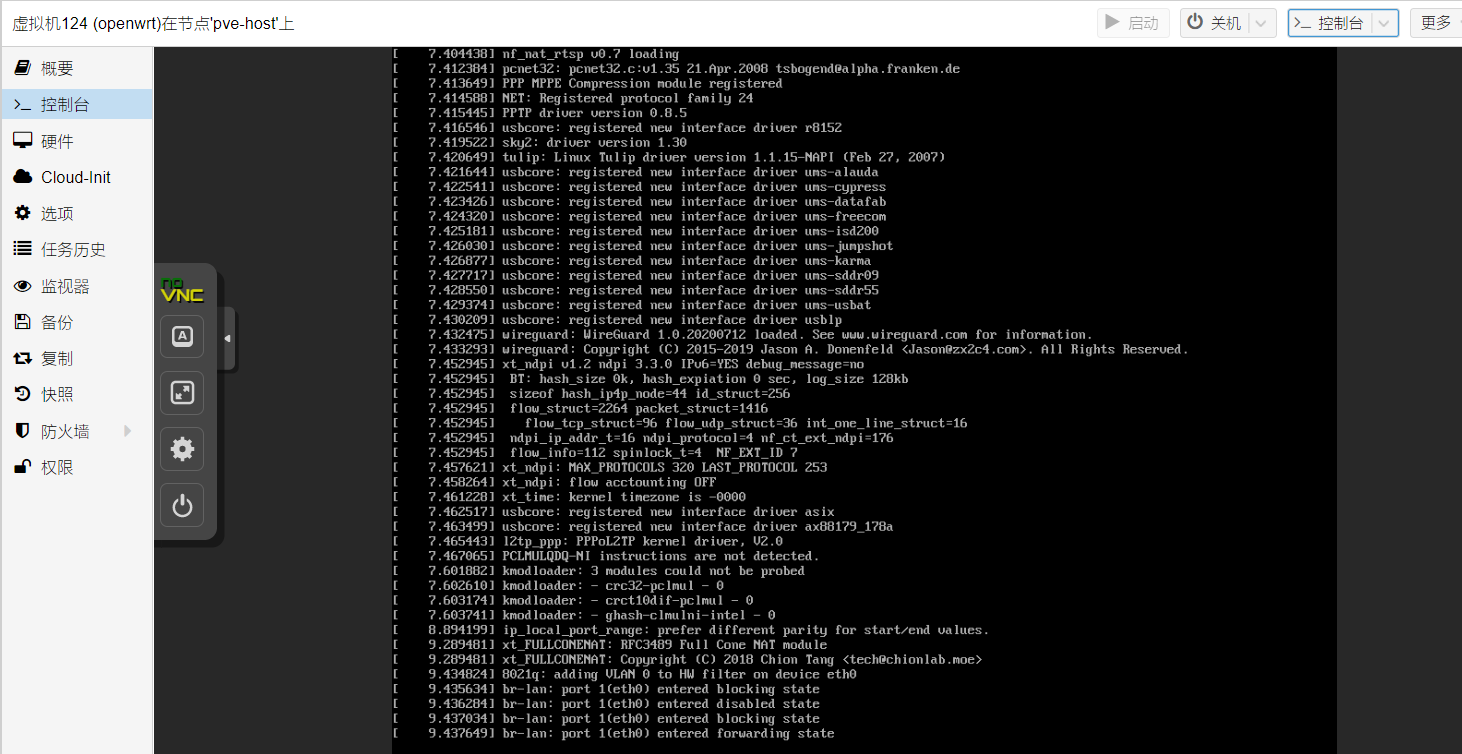
如果上述步骤操作顺利,就可以启动该虚拟机了
